
DMD Ext (Freezy)
Click any image to enlarge it.

DMD Ext and Freezy are the same thing — just two names for the same tool. This is a very significant upgrade to your Virtual Pinball experience. It enhances the built-in table DMD to a much higher quality and fully customizable display.
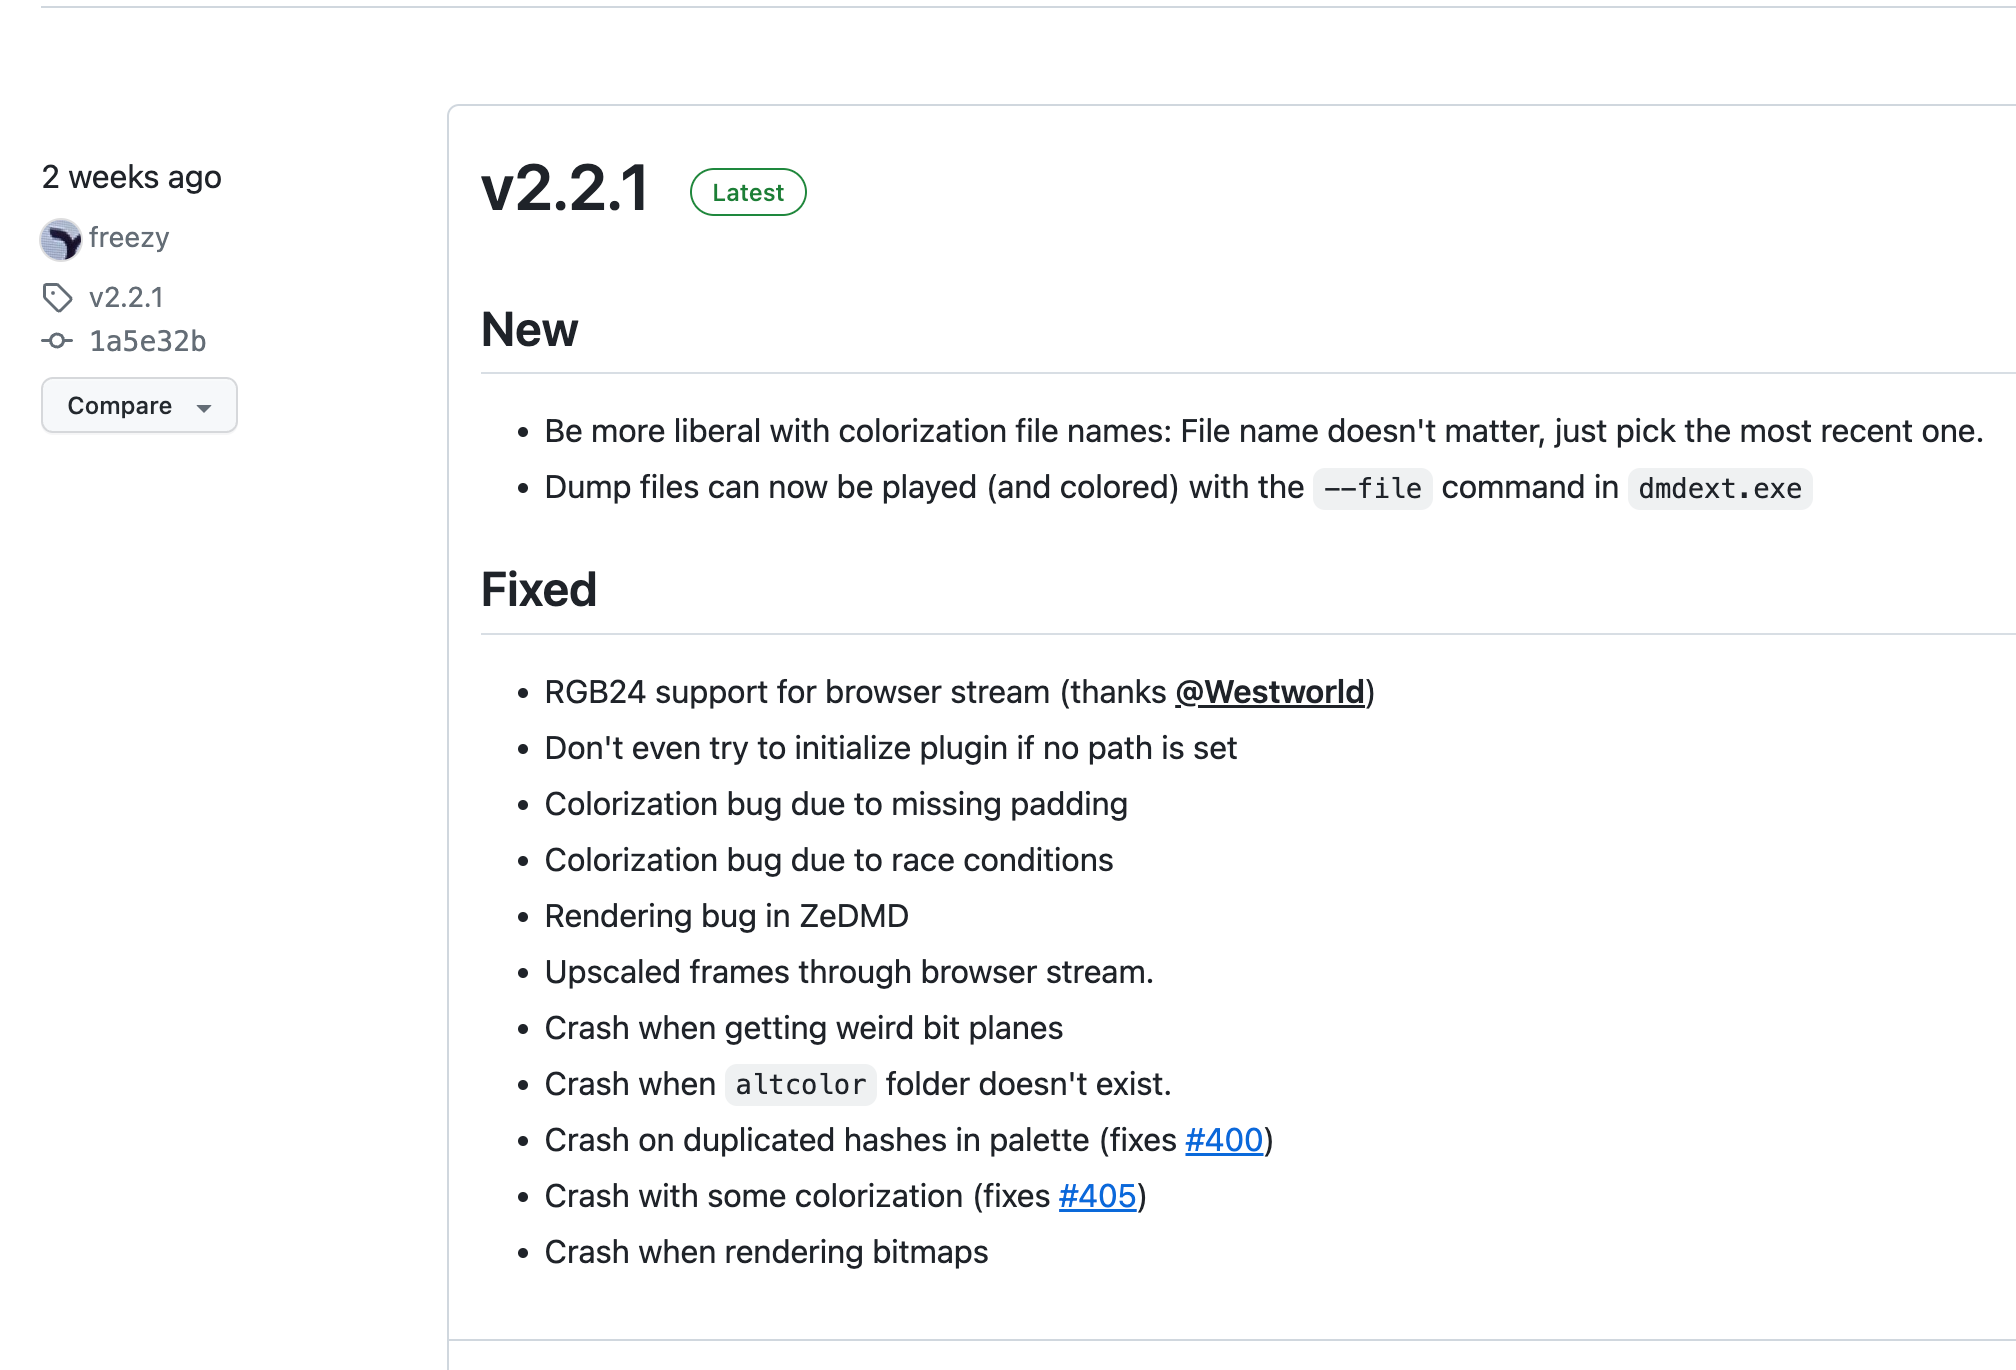
"This project aims to connect digital pinball games with the physical DMDs that are widespread in the community. It also comes with pretty monitor output, supports frame-by-frame colorization, and can even stream over the network."⬇ Freezy on Github 📄 Readme
What You Need
You will need Visual Pinball X installed, and you will need to download Freezy. Download the zip file rather than the auto installer.
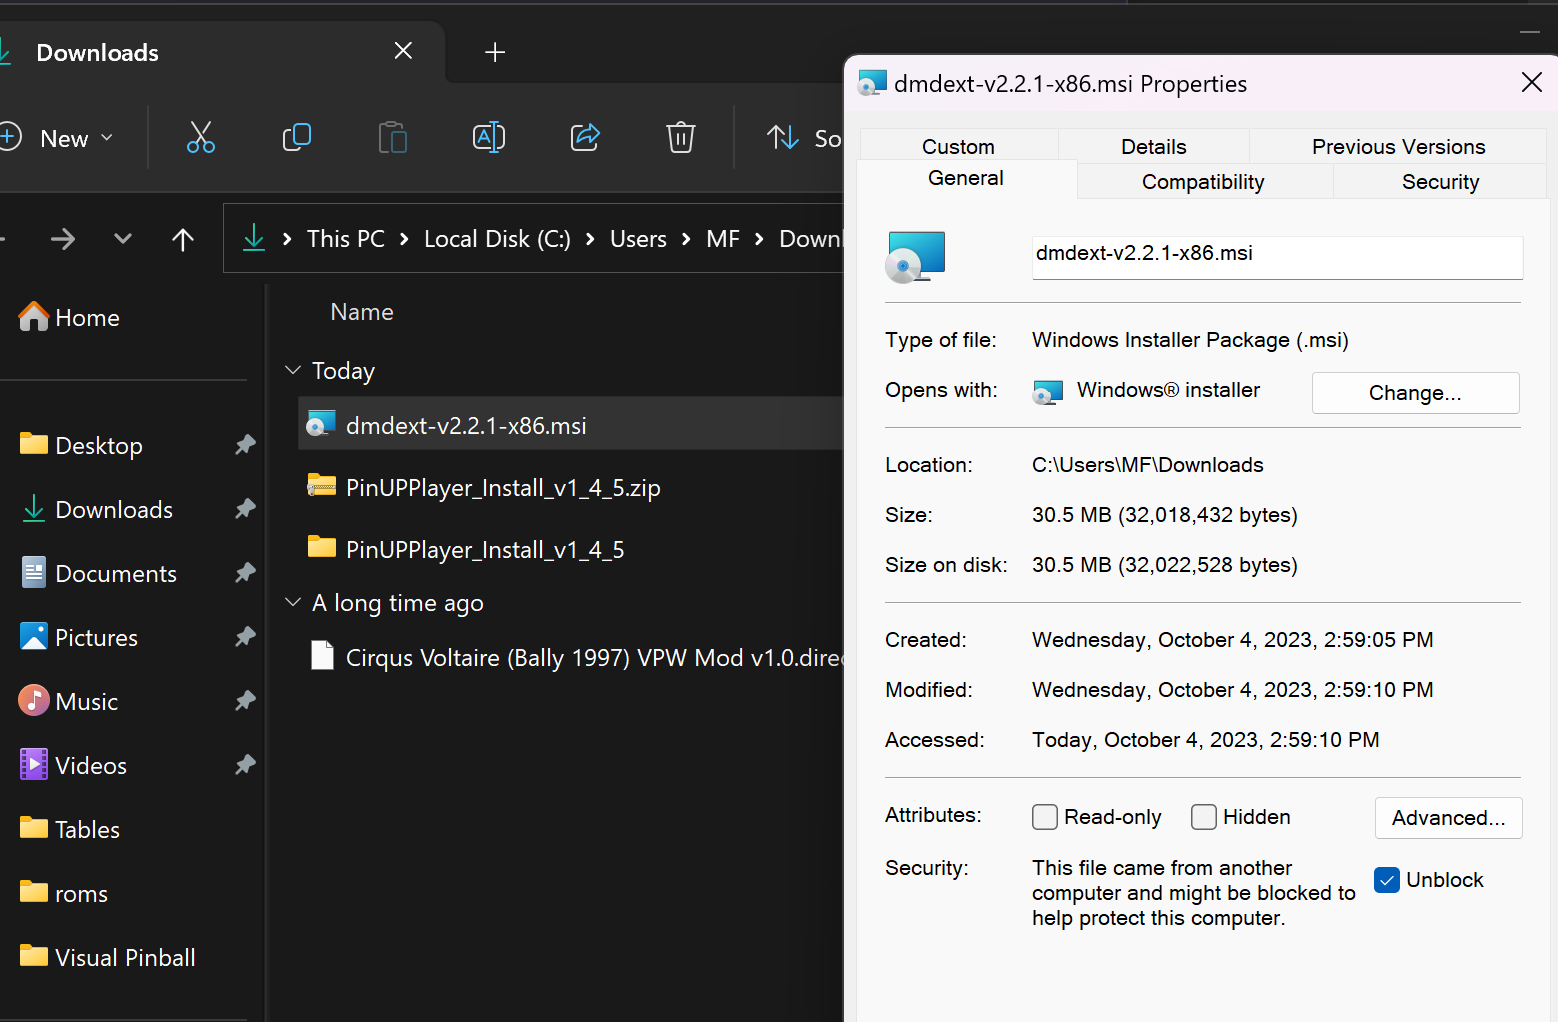
Right click the downloaded file → Properties → check Unblock → Apply. Then extract the zip.
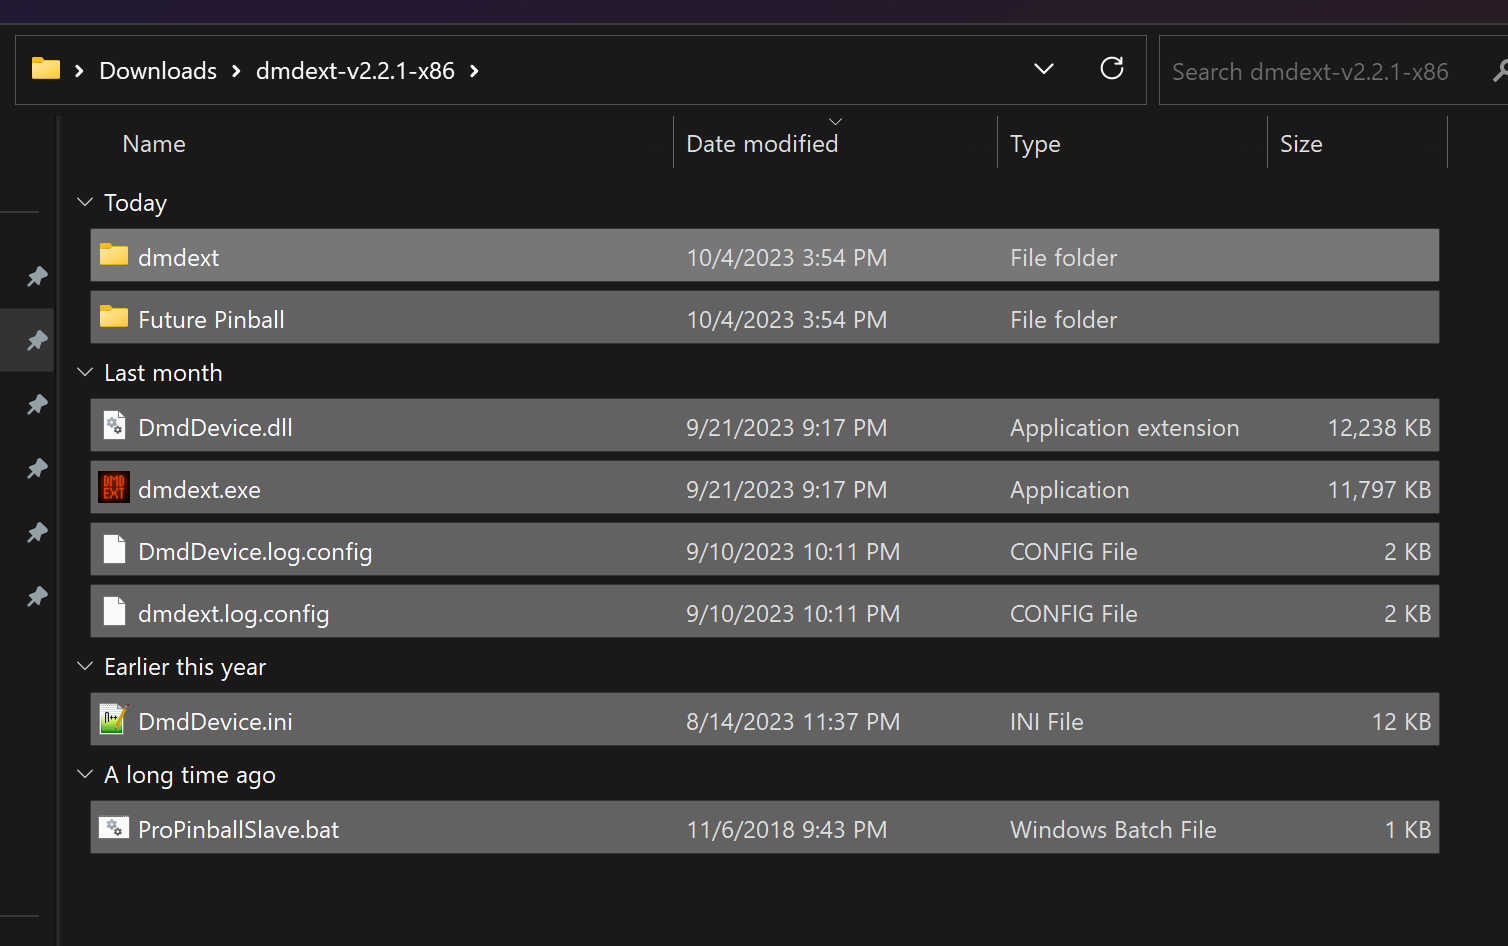
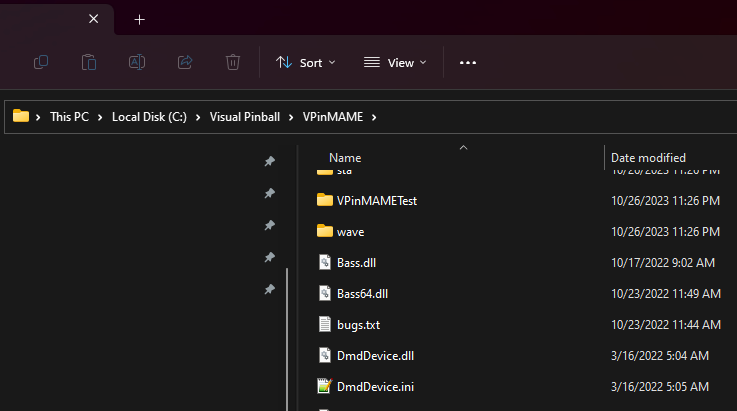
Select all extracted files and copy them to your VisualPinball/Vpinmame folder.
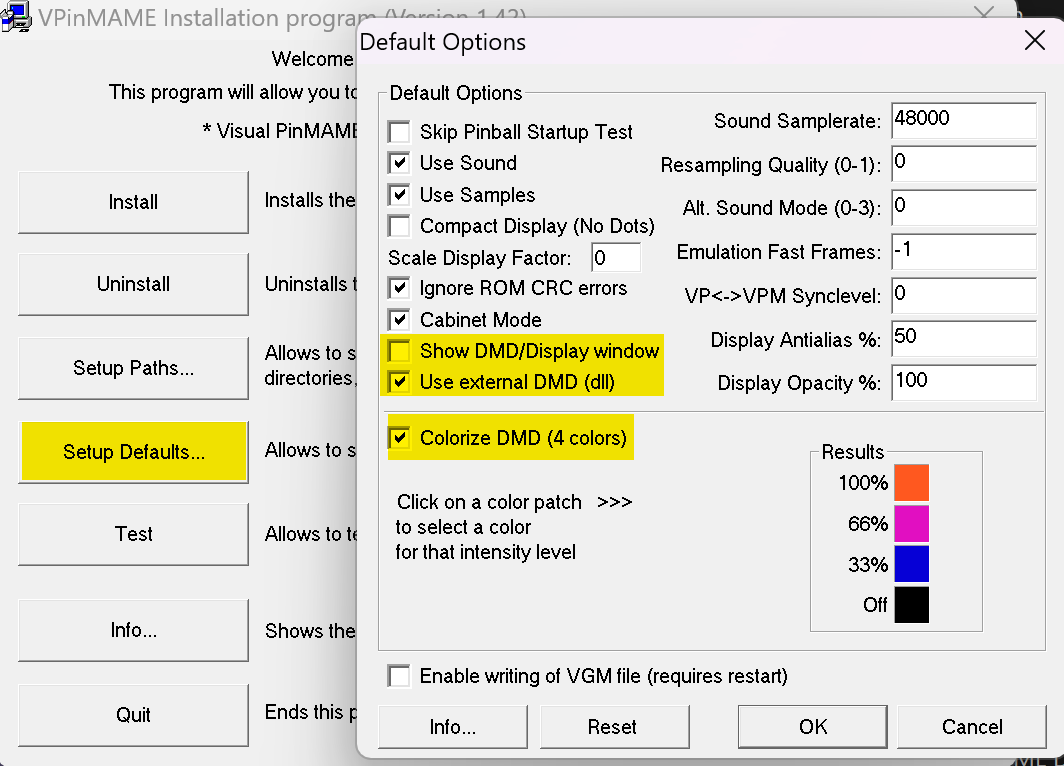
Run Setup.exe in the Vpinmame folder and change these settings:
- Select the Setup Default tab
- Uncheck Show DMD/Display window
- Check Use External DMD (dll)
- Check Colorize DMD (4 colors)
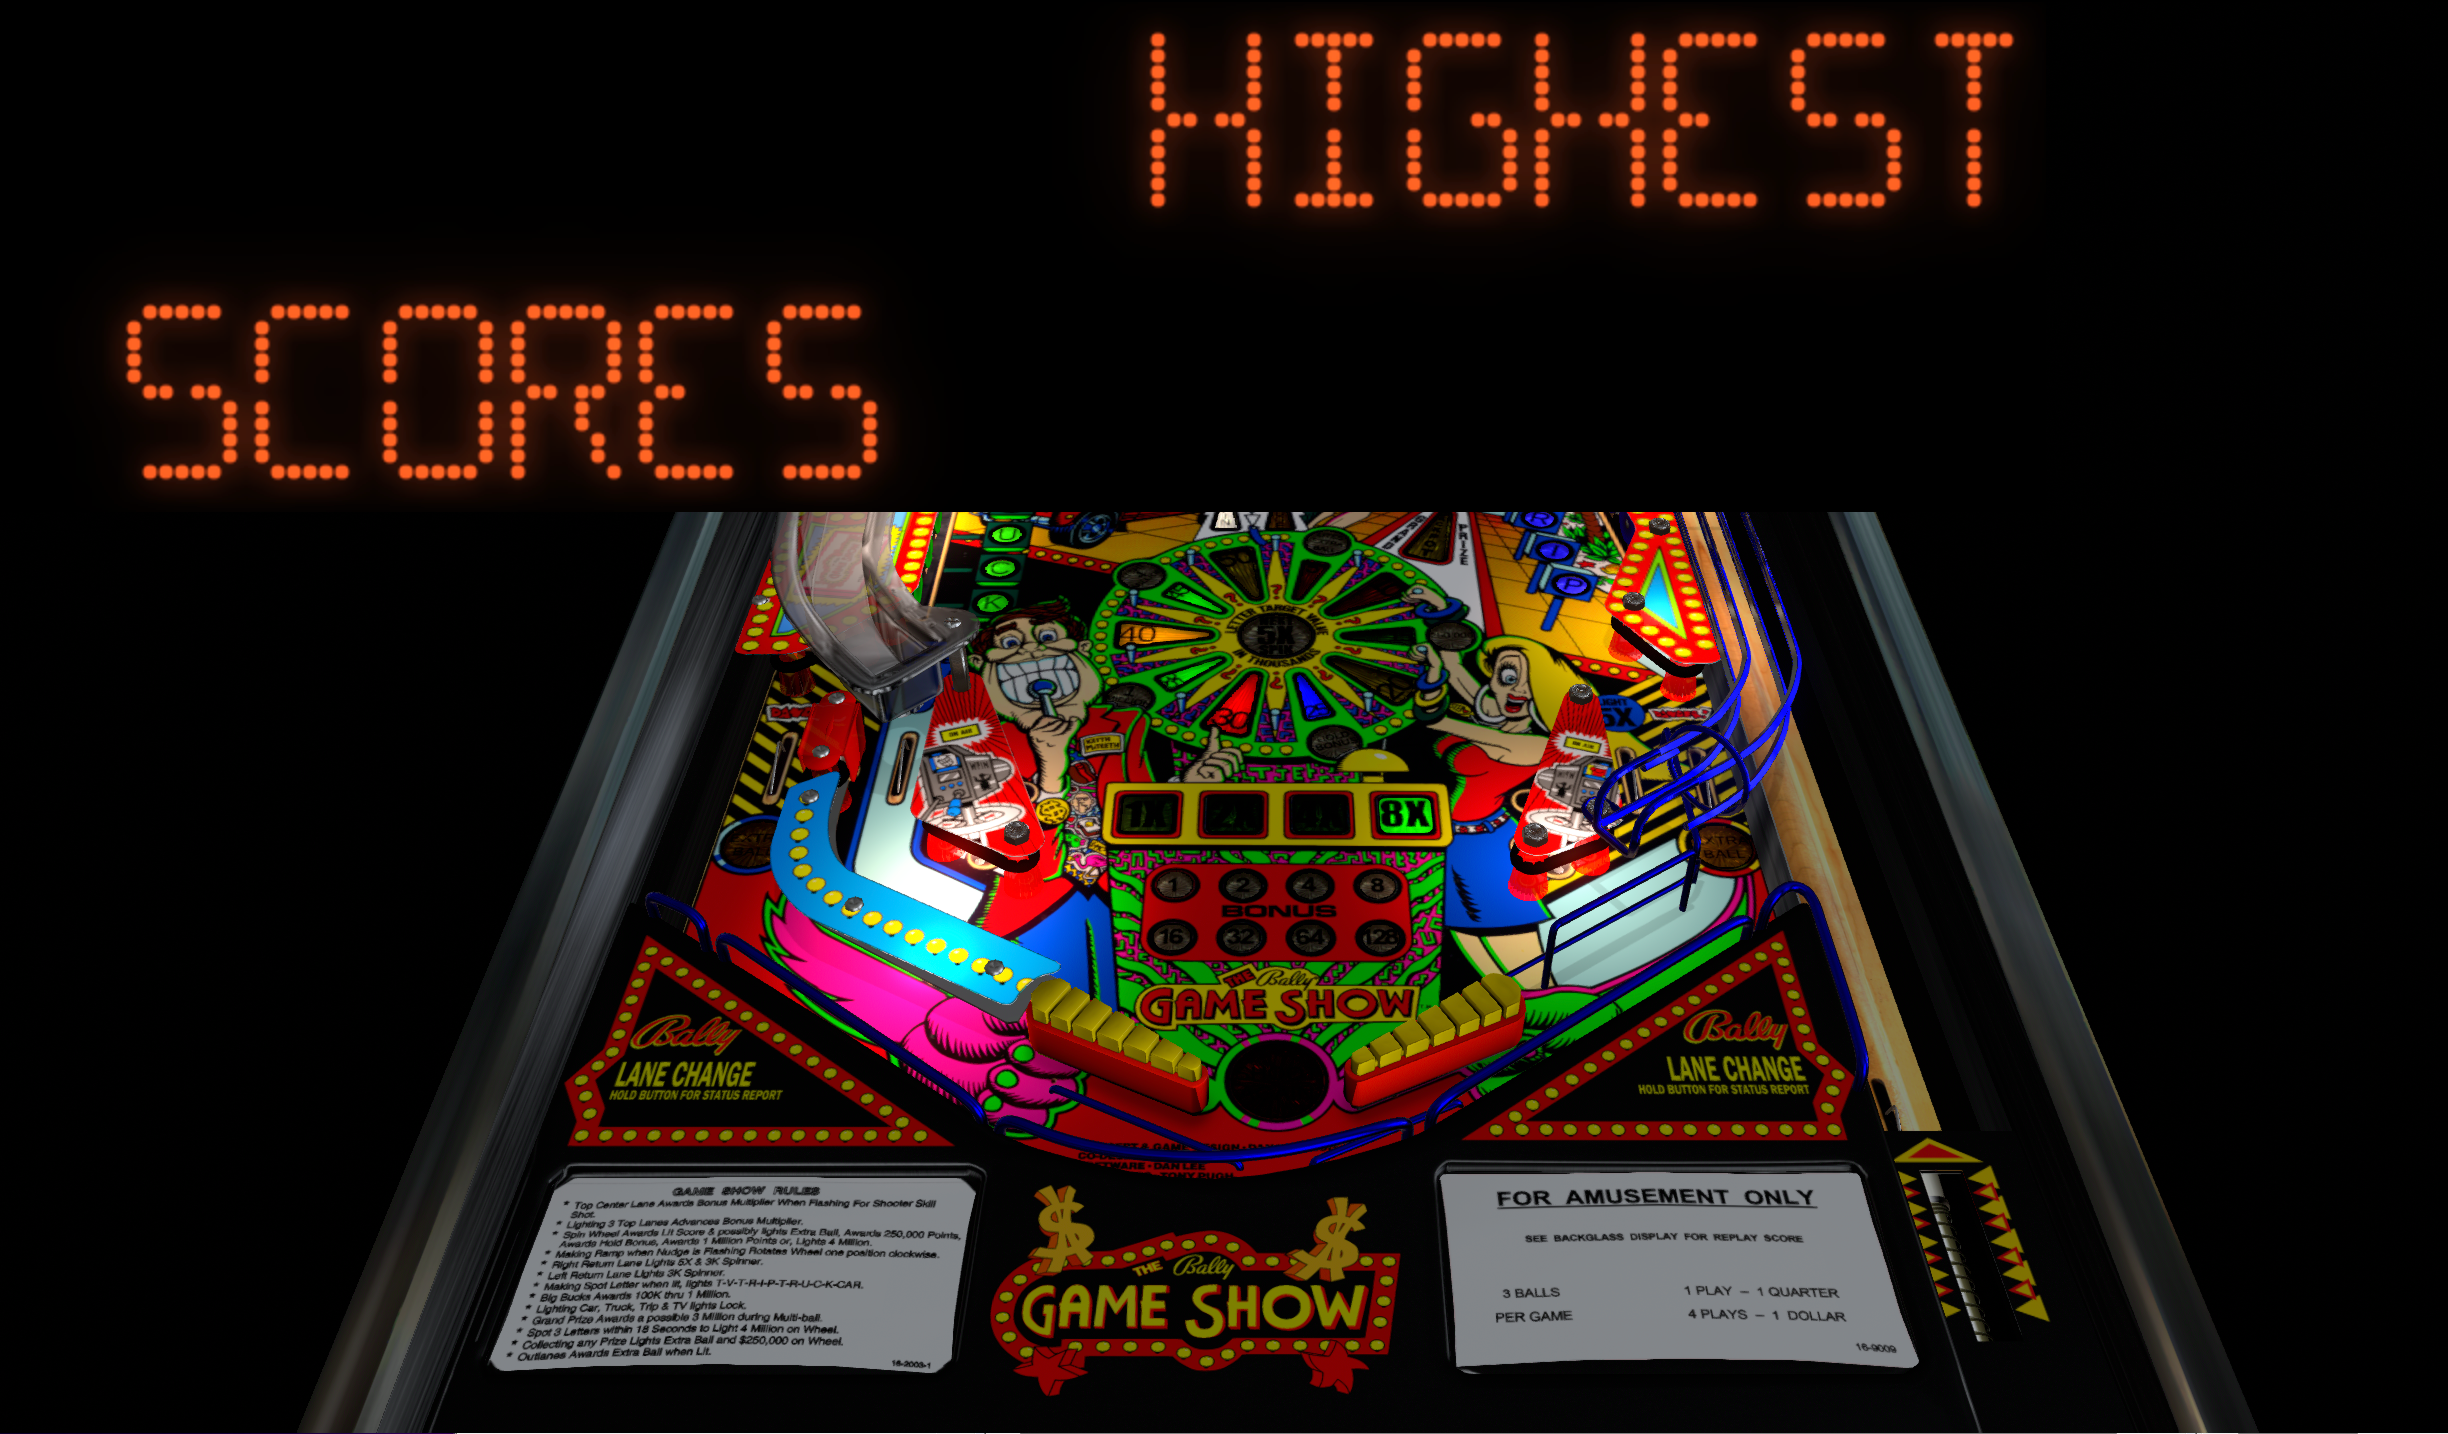
You will now see a much sharper DMD. Drag it to any location — even across other monitors in a multi-screen setup.

Drag the DMD to position it. Resize by dragging the lower right corner.
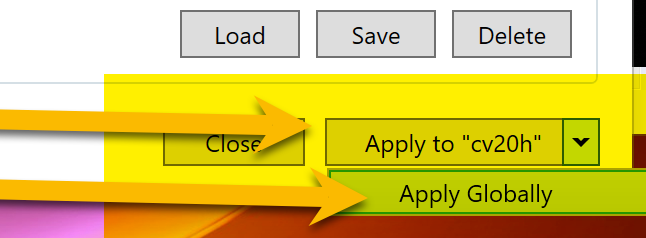
Once happy with the position, right-click the DMD to save it globally (all tables) or for this table only.
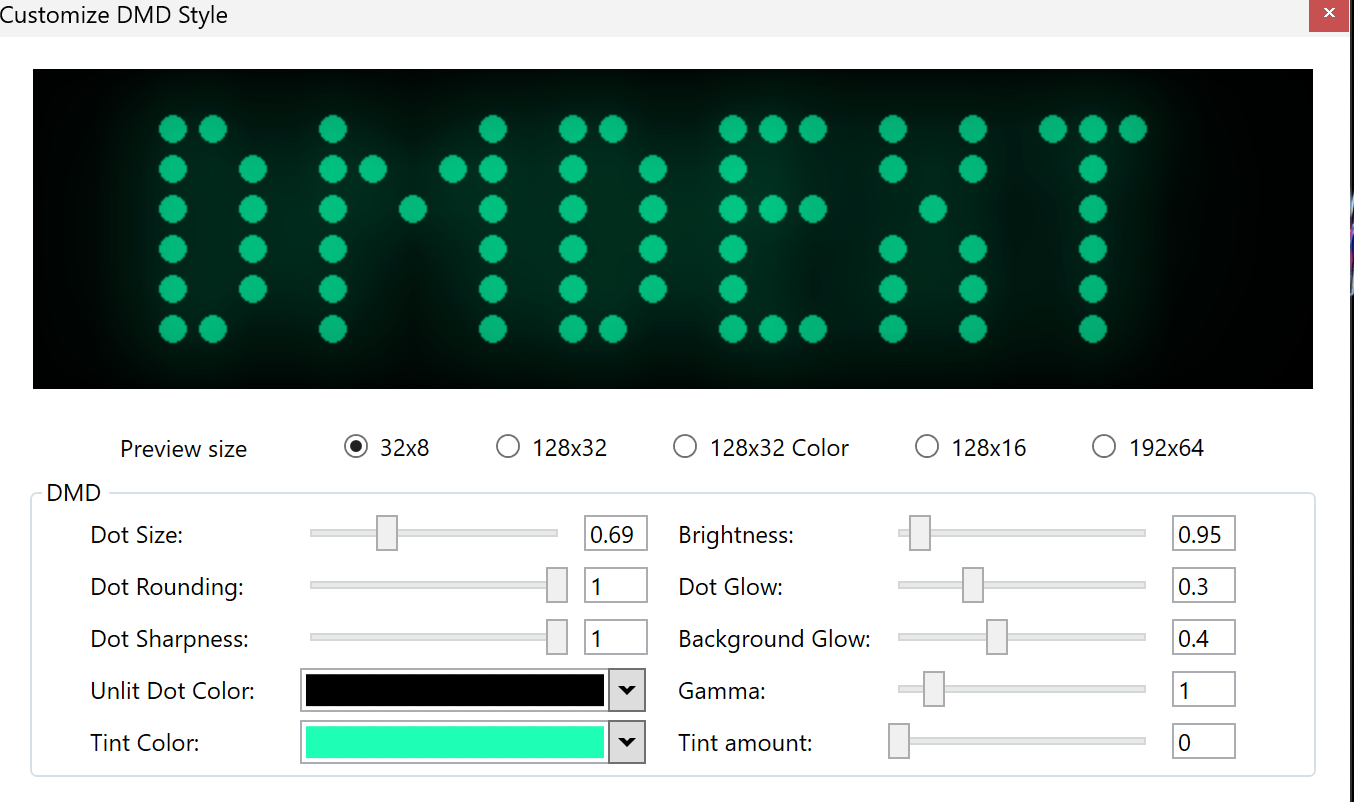
Select Customize Style to change the shape and colour of the DMD. Set it globally or per table.

DMD Colorization
If you have Freezy running when launching a VPX table, you're almost there. The final step is getting colorized ROM files for the table. Not all tables have them — check VPUniverse.
🎨 VPU Colorized ROMs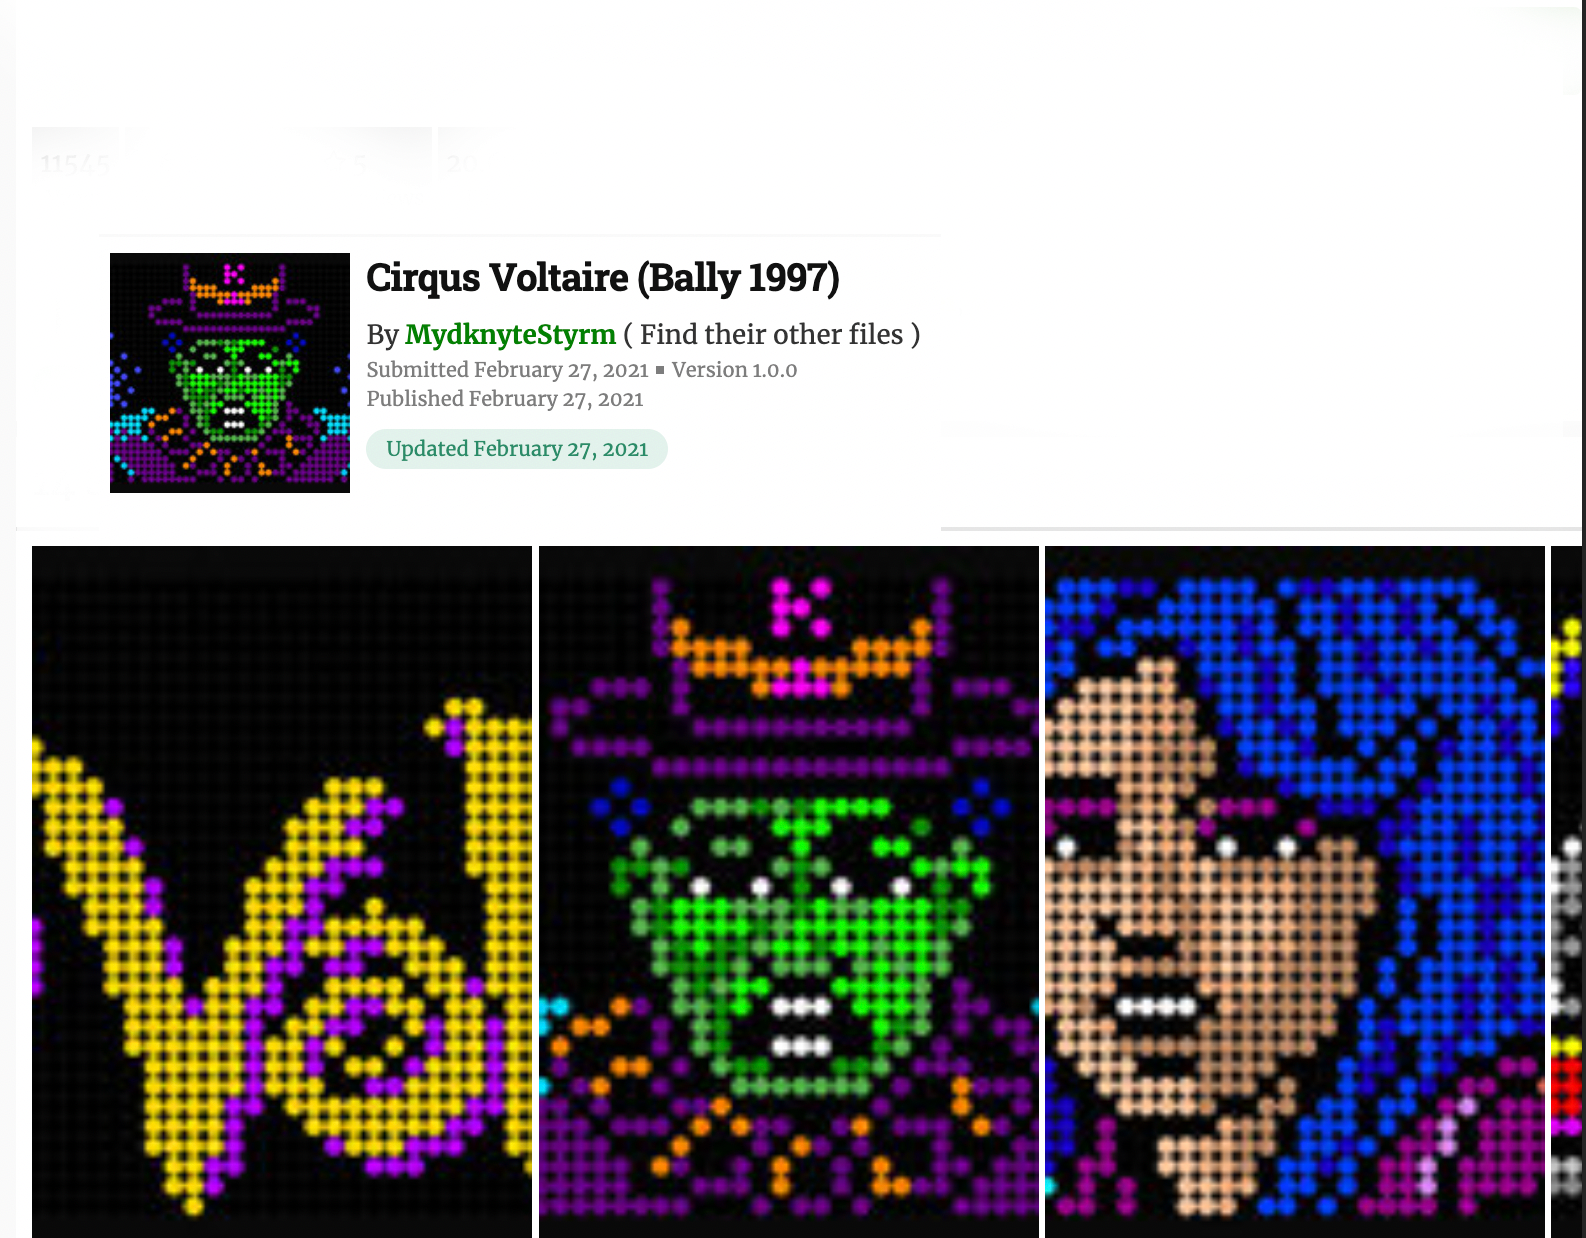
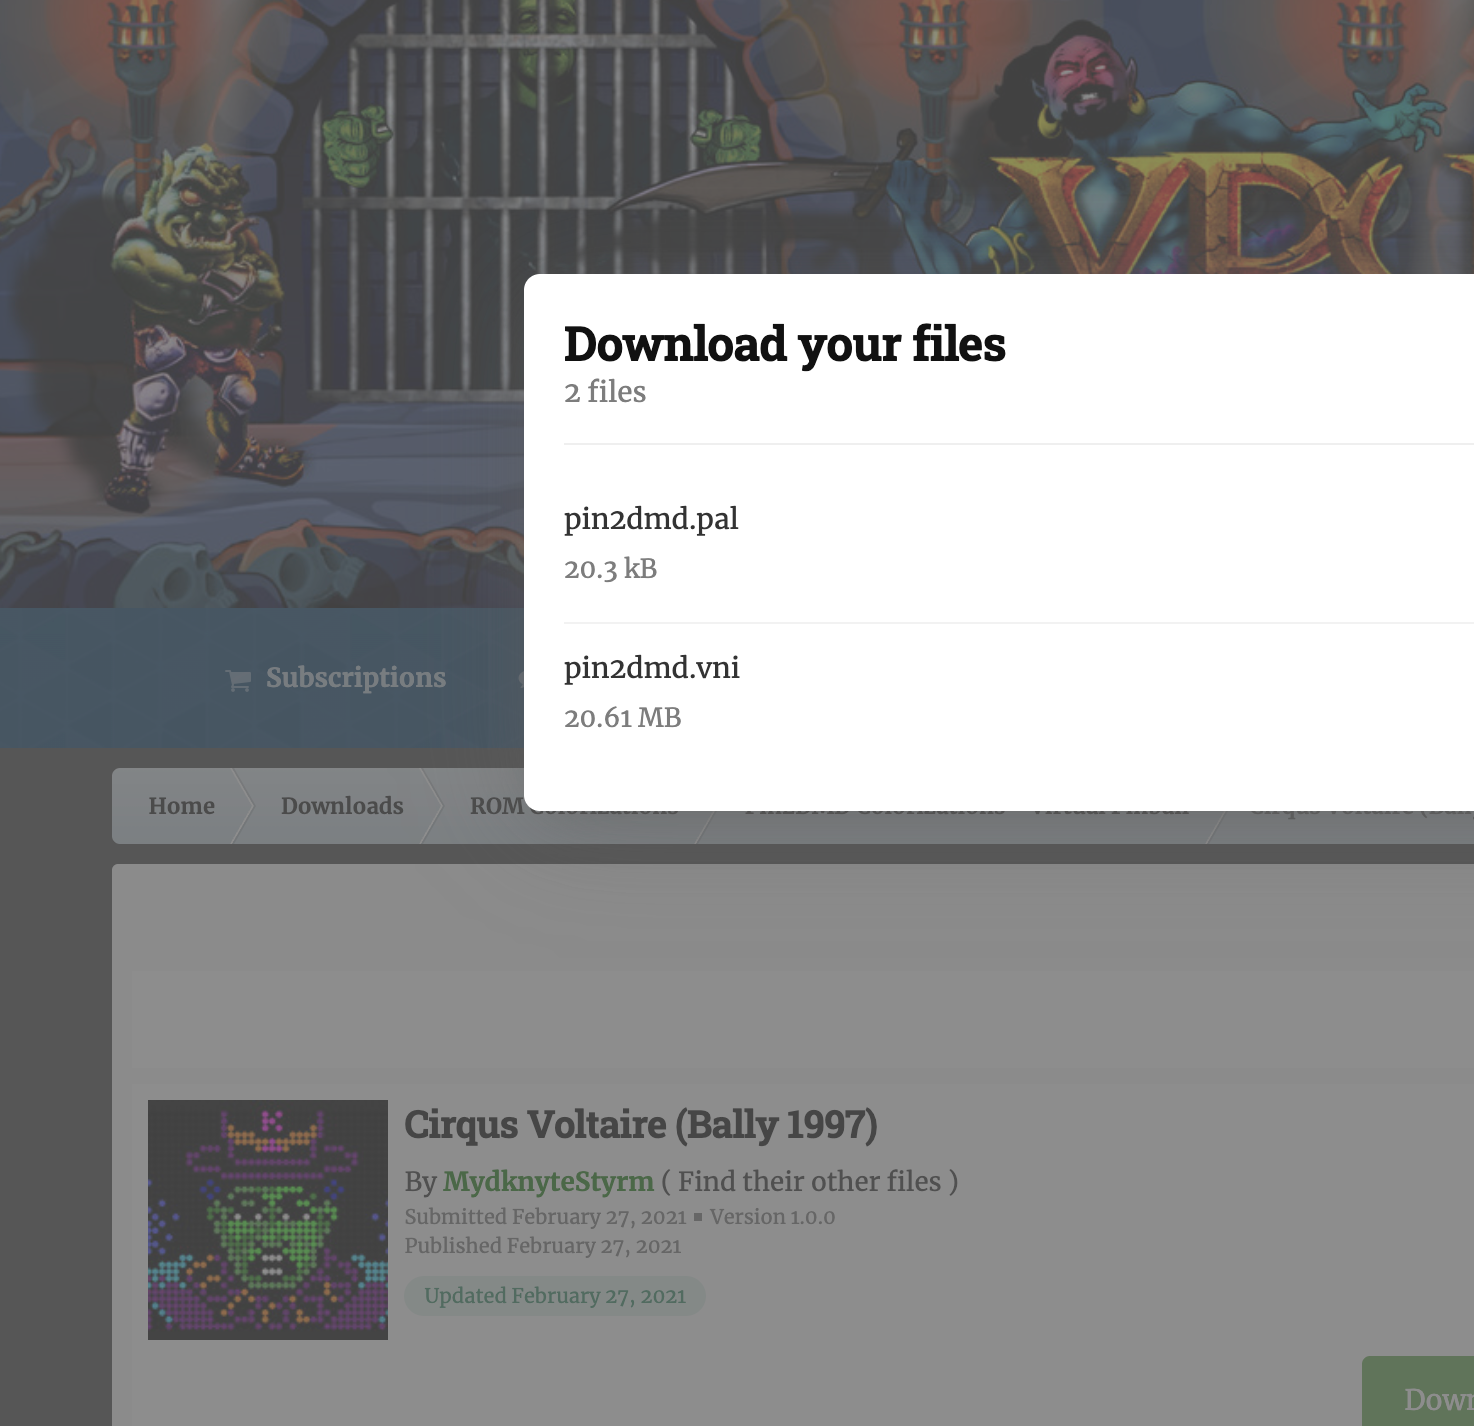
Download both files and save them somewhere you'll remember — they are all named the same across tables.
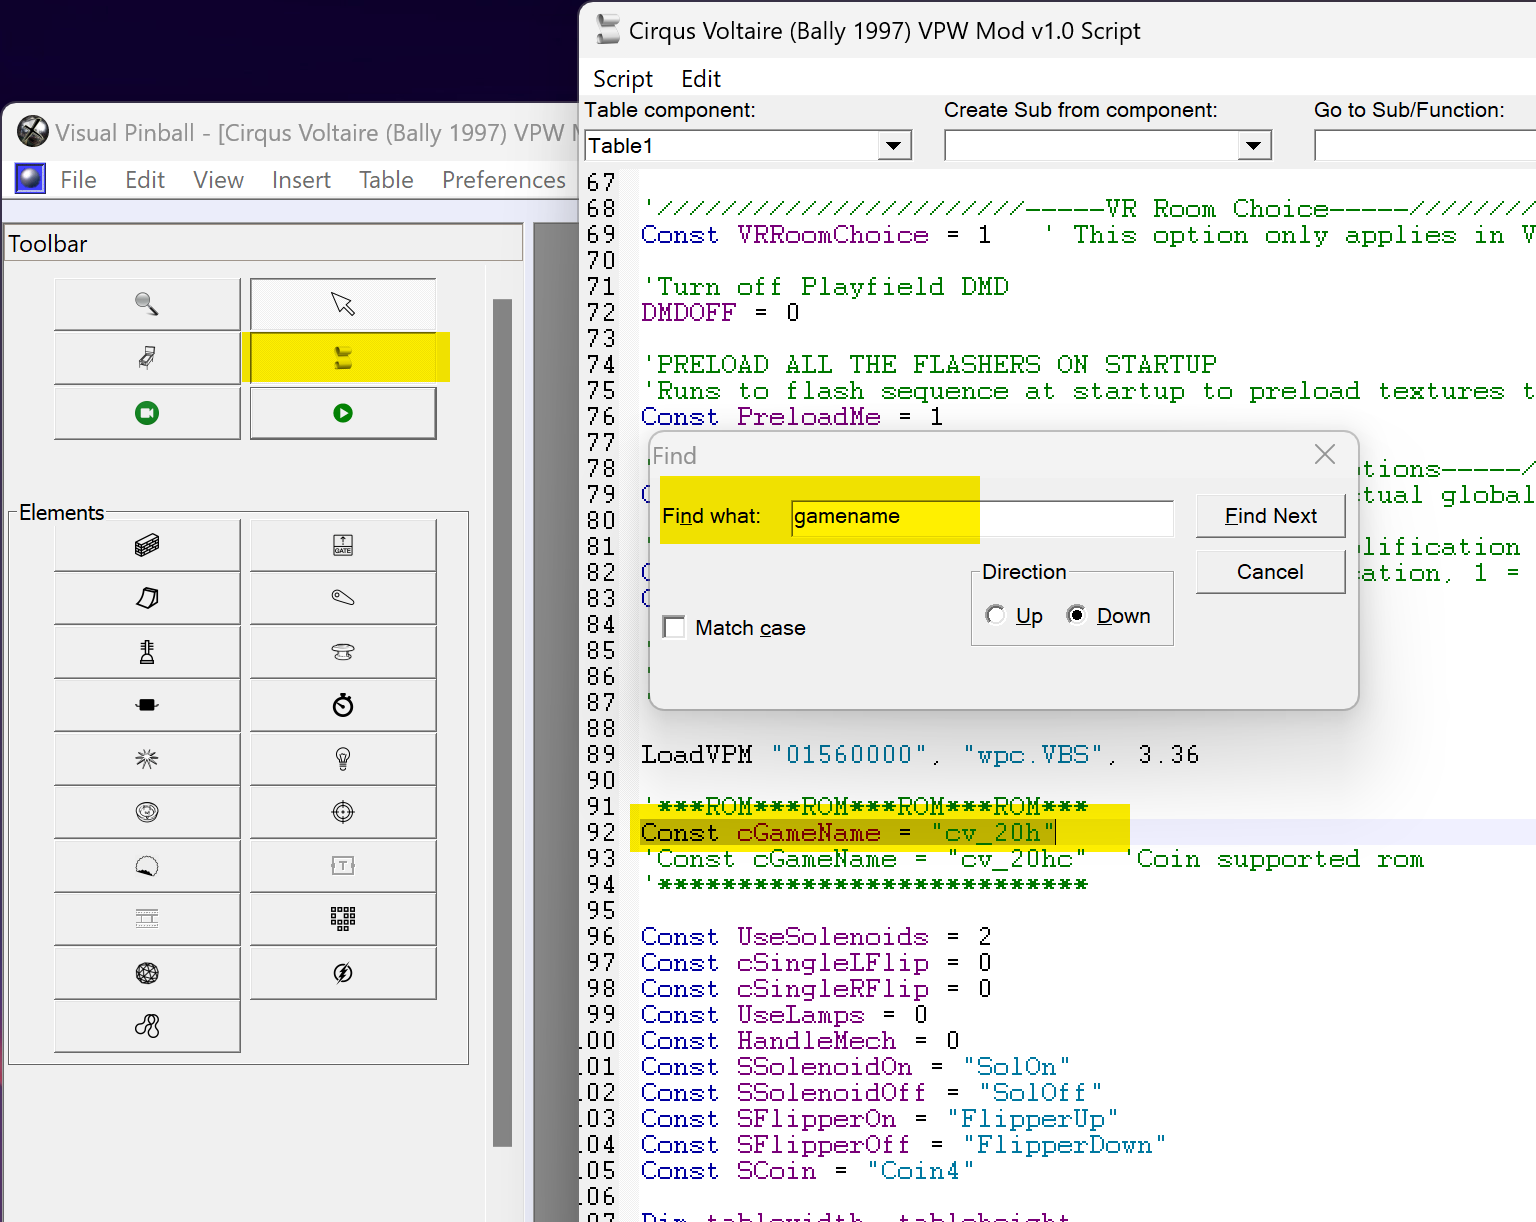
You need a folder matching the ROM name. Here's how to find it:
- Open your table in the VPX editor
- Click the script icon
- Press Ctrl+F and search for
gamename
Example: Const cGamename = "cv_20h" — the ROM name for Cirqus Voltaire.
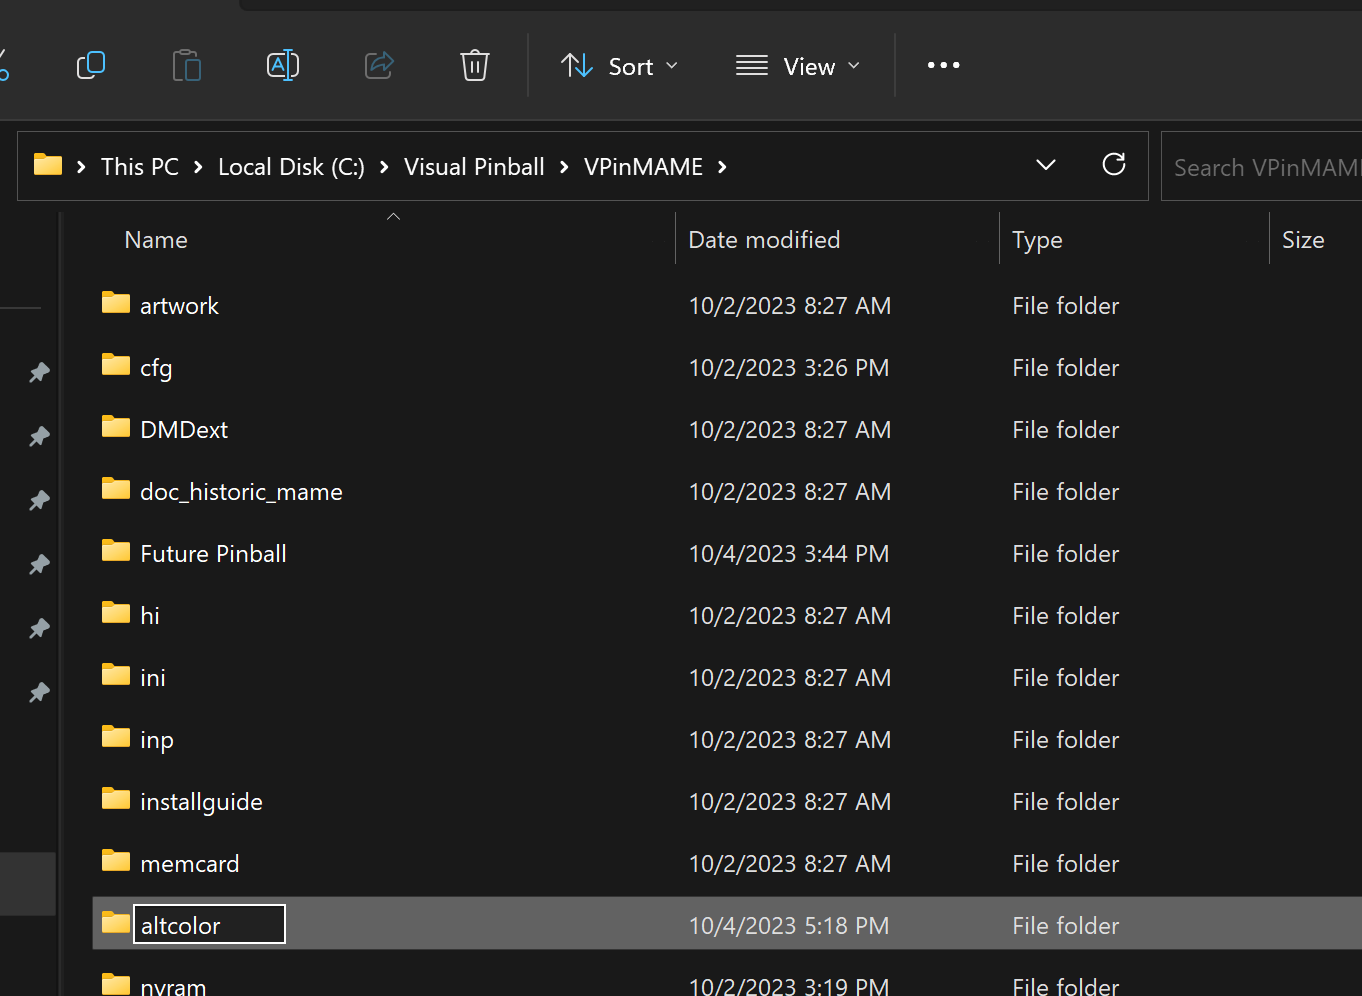
In the Vpinmame folder, create a folder named altcolor if it doesn't exist yet.

Inside altcolor, create a folder matching the ROM name (e.g. cv_20h).
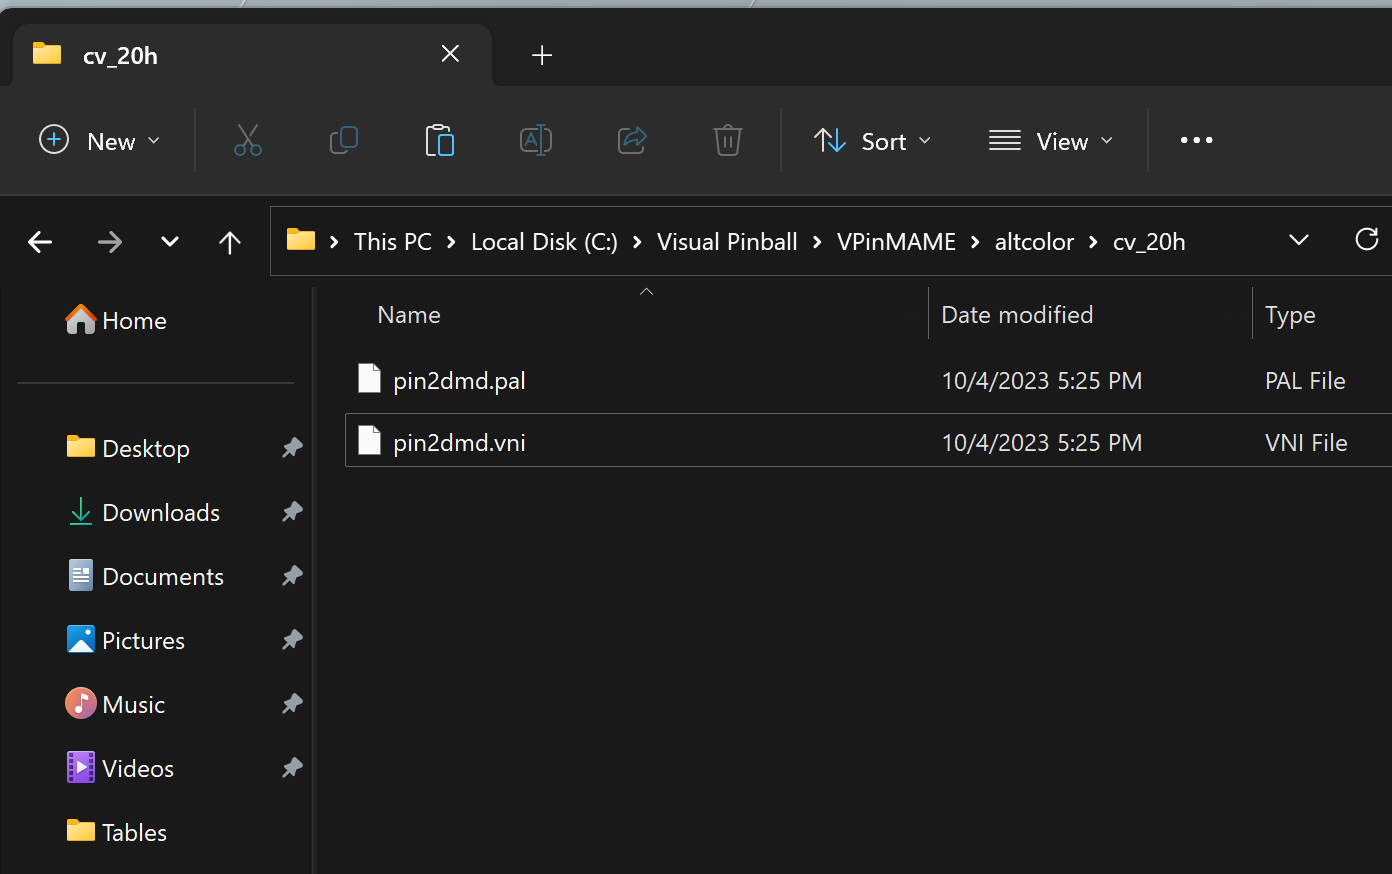
Copy the 2 downloaded files into the ROM folder: pin2dmd.pal and pin2dmd.vni.
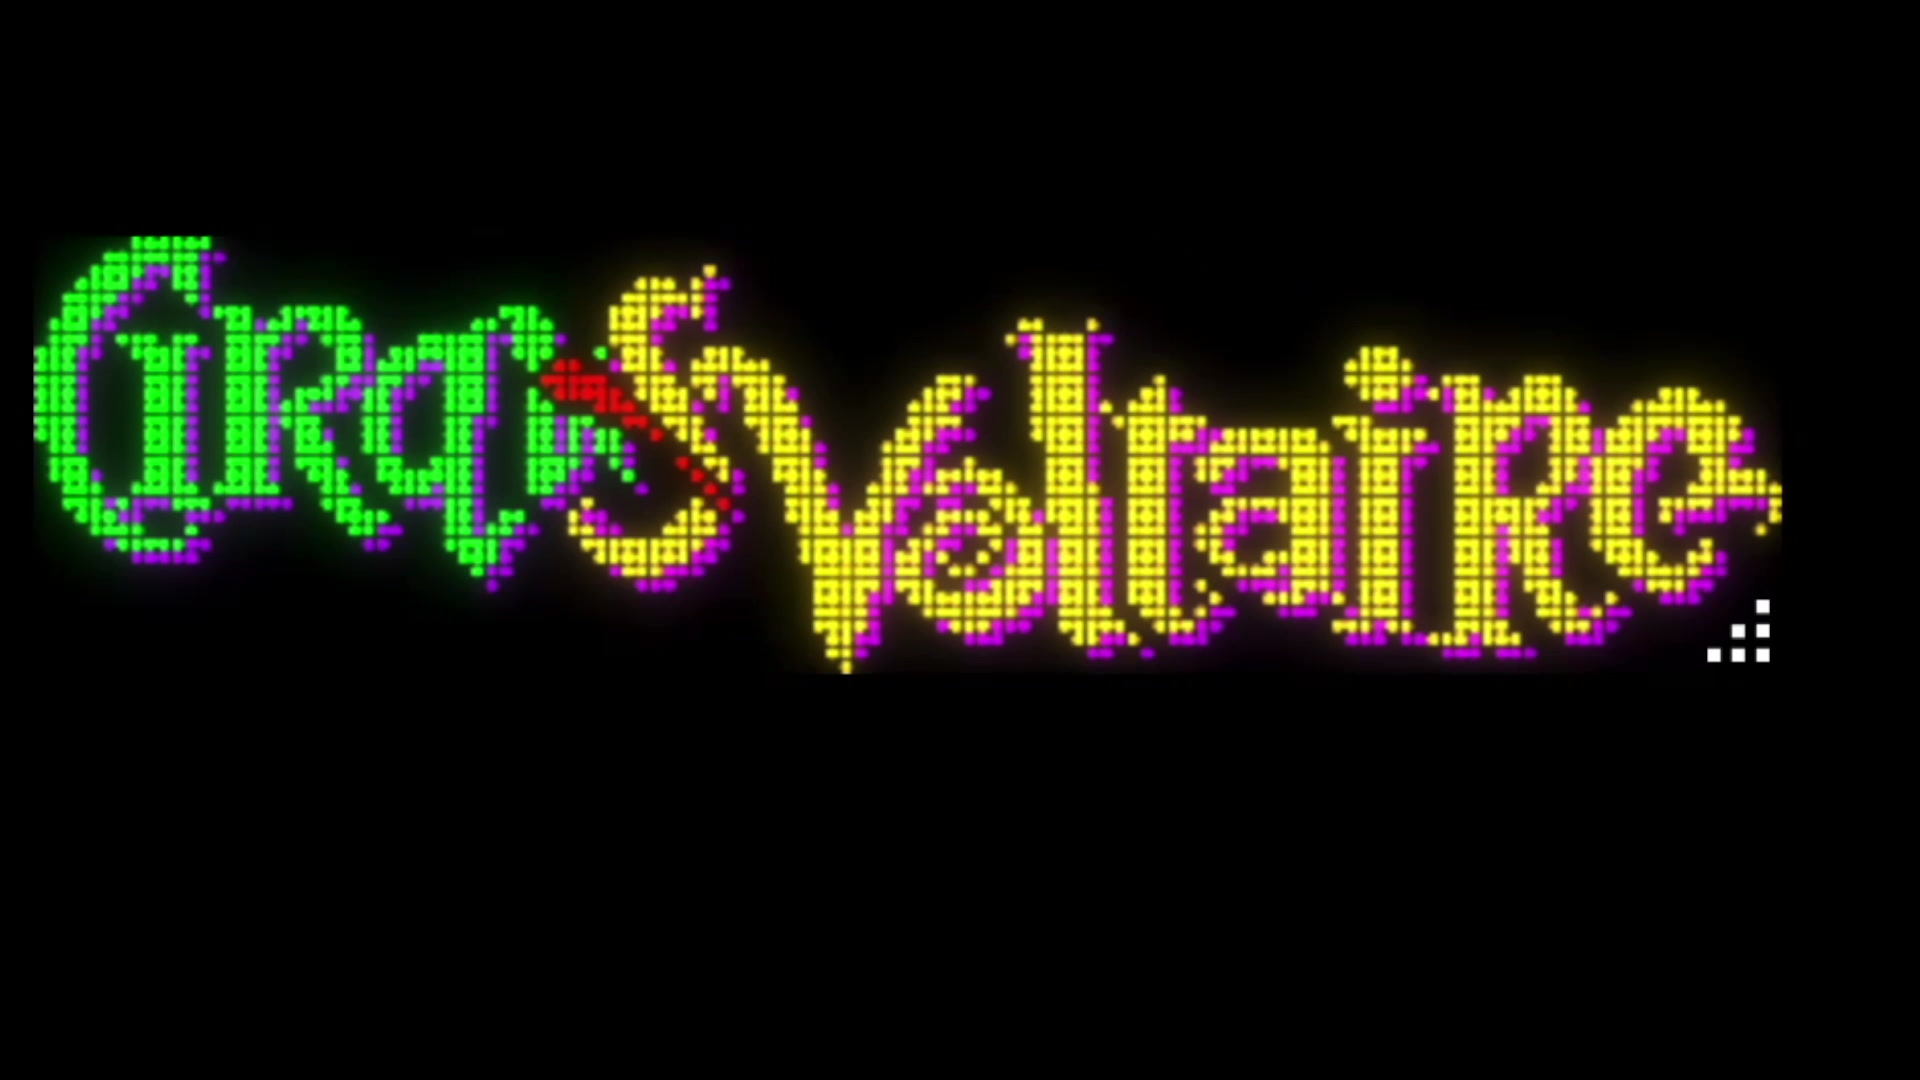
If everything was installed correctly, you will now see DMD animations in vivid colours. 🎉
Serum / PAC File Colorization

A newer 100% open-source colorization format called Serum (cRom) uses .PAC files instead of pin2dmd files.
- Comprehensive tutorial on colorizing DMD
- Tutorial from RajoJoey (English/German)
- Article from Lucky1 on VPUniverse
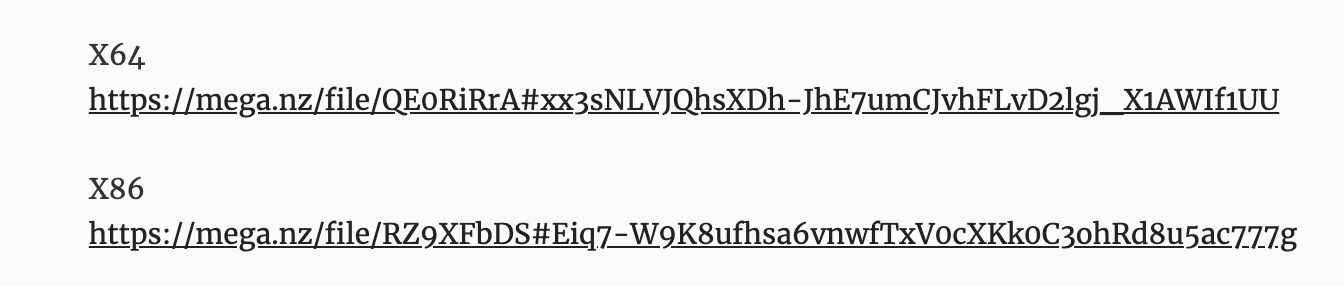
Download the 2 files linked in the article. Extract and paste them into the Vpinmame folder, overwriting existing files.
VPMalias or dmddevice.ini files.Once done, drop the .PAC file into the altcolor/[romname] folder, just like the pin2dmd steps above.
Related: Visual Pinball X · DOF Setup · Software